Let’s Bake: Red Velvet Dreams!
Are you ready to unleash your inner baker and whip up a decadent Homemade red velvet cake? If the answer is yes, then you’re in for a treat! Red velvet cake is a classic dessert that is loved by many for its rich flavor and vibrant red color. In this article, we will explore the art of baking a red velvet cake and share some tips and tricks to help you create a masterpiece in your own kitchen.
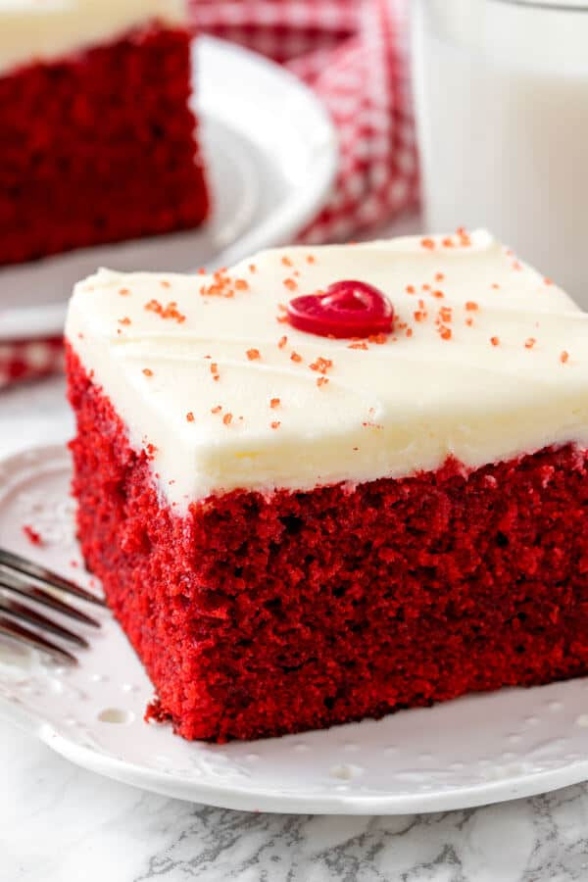
Image Source: justsotasty.com
To start your red velvet baking adventure, you’ll need to gather all the necessary ingredients. This includes flour, sugar, cocoa powder, baking soda, salt, eggs, buttermilk, vegetable oil, vanilla extract, red food coloring, and vinegar. These ingredients come together to create a moist and delicious cake that is sure to impress your friends and family.
Once you have all your ingredients ready, it’s time to preheat your oven and prepare your baking pans. Red velvet cake is typically baked in round cake pans, but you can also use a sheet pan if you prefer. Make sure to grease and flour your pans to prevent the cake from sticking.
Next, it’s time to mix your batter. In a large mixing bowl, combine the dry ingredients – flour, sugar, cocoa powder, baking soda, and salt. In a separate bowl, mix together the wet ingredients – eggs, buttermilk, vegetable oil, vanilla extract, and red food coloring. Slowly add the wet ingredients to the dry ingredients, mixing until just combined. Be careful not to overmix the batter, as this can result in a tough cake.
Once your batter is ready, pour it into your prepared baking pans and smooth the top with a spatula. Tap the pans on the counter to remove any air bubbles, then place them in the oven to bake. The exact baking time will depend on the size of your pans, so be sure to keep an eye on your cakes and test them with a toothpick to see if they are done.
While your cakes are baking, you can start preparing the cream cheese frosting – a classic pairing with red velvet cake. Cream together butter and cream cheese until smooth, then add powdered sugar and vanilla extract. Beat the mixture until light and fluffy, then refrigerate until ready to use.
Once your cakes are baked and cooled, it’s time to assemble your red velvet masterpiece. Place one cake layer on a serving platter, then spread a layer of cream cheese frosting on top. Add the second cake layer and frost the top and sides of the cake with the remaining frosting. For an extra touch of elegance, you can use a piping bag to create decorative swirls or patterns on the cake.
And there you have it – a decadent Homemade red velvet cake that is sure to impress! Whether you’re baking for a special occasion or just craving a sweet treat, this red velvet cake Recipes-ideas/’>Recipe is a must-try. So roll up your sleeves, preheat your oven, and let’s bake some red velvet dreams together!
Mixing Magic: Baking Essentials
Are you ready to unleash your inner baker and whip up a decadent Homemade red velvet cake? Before you dive into the world of baking, it’s important to make sure you have all the essential tools and ingredients to create a masterpiece in the kitchen. In this article, we will explore the key baking essentials that will help you mix magic and create the perfect red velvet cake.
First and foremost, every baker needs a reliable set of measuring cups and spoons. Accurately measuring your ingredients is crucial in baking, as even the slightest variations can affect the outcome of your cake. Whether you’re measuring out flour, sugar, or cocoa powder, having a set of measuring cups and spoons on hand will ensure that you achieve the perfect balance of flavors and textures in your red velvet cake.
Another essential tool for any baker is a good quality mixer. Whether you prefer a stand mixer or a hand mixer, having a reliable appliance to mix your ingredients together will save you time and effort in the kitchen. From beating eggs to creaming butter and sugar, a mixer will help you achieve the perfect consistency for your red velvet cake batter.
In addition to a mixer, every baker should have a sturdy set of mixing bowls in various sizes. Mixing bowls are essential for combining ingredients, whisking together wet and dry ingredients, and preparing your red velvet cake batter. Look for bowls that are lightweight, easy to clean, and have a non-slip base to make your baking experience seamless and enjoyable.
No baking experience is complete without a set of quality baking pans. For a red velvet cake, you will need round cake pans to create the layers of your cake. Make sure to invest in pans that are non-stick and have a durable construction to ensure that your cakes bake evenly and release easily from the pan. Having the right baking pans will not only make your red velvet cake look beautiful but also taste delicious.
Once you have all the essential tools in place, it’s time to stock up on baking ingredients. For a classic red velvet cake, you will need pantry staples such as flour, sugar, cocoa powder, baking soda, and salt. In addition, you will need buttermilk, eggs, butter, and red food coloring to achieve the signature red hue of a red velvet cake. Having a well-stocked pantry will ensure that you can bake on a whim and create delicious treats whenever the baking bug strikes.
Lastly, don’t forget to have fun and get creative in the kitchen. Baking is a creative and rewarding experience that allows you to express yourself through delicious treats. Experiment with different flavor combinations, try out new decorating techniques, and don’t be afraid to make mistakes along the way. Baking is all about learning and growing as a baker, so embrace the process and enjoy every moment of creating your Homemade red velvet cake.
So gather your baking essentials, preheat your oven, and unleash your inner baker as you whip up a decadent homemade red velvet cake. With the right tools, ingredients, and a sprinkle of magic, you’ll be on your way to creating a masterpiece that will delight your taste buds and impress your friends and family. Happy baking!
Decorating Delights: Frosting Fun
Unleash Your Inner Baker: How to Whip Up a Decadent Homemade Red Velvet Cake
Have you ever baked a delicious Homemade cake only to be left feeling a bit underwhelmed by the presentation? Fear not, dear baker, for we are here to help you turn your plain cake into a masterpiece with our tips on frosting fun!
Frosting is like the icing on the cake – it not only adds flavor but also serves as a canvas for your creativity. Whether you prefer a classic cream cheese frosting or a rich chocolate ganache, the possibilities are endless when it comes to decorating your red velvet cake.
One of the most important things to keep in mind when decorating a cake is to ensure that your frosting is the right consistency. If it’s too thick, it will be difficult to spread evenly, and if it’s too thin, it will slide right off the cake. To achieve the perfect consistency, make sure to follow the Recipes-ideas/’>Recipe instructions carefully and adjust as needed.
Once you have your frosting ready, it’s time to get creative! Here are some fun and easy ways to decorate your red velvet cake:
1. Piping: Invest in a set of piping bags and tips to create intricate designs on your cake. Whether you want to pipe rosettes, swirls, or stars, piping is a simple way to add a touch of elegance to your cake.
2. Sprinkles: Sprinkles are a fun and colorful way to add texture and pizzazz to your cake. Whether you prefer rainbow sprinkles, metallic dragees, or chocolate shavings, sprinkles are a simple yet effective way to elevate your cake.
3. Edible flowers: Fresh flowers not only add a pop of color to your cake but also a touch of elegance. Make sure to use edible flowers that are safe for consumption and wash them thoroughly before placing them on your cake.
4. Chocolate curls: Use a vegetable peeler to create delicate chocolate curls to garnish your cake. Chocolate curls not only add a decorative touch but also a rich and decadent flavor.
5. Fondant Decorations: Fondant is a versatile medium that can be shaped and molded into various designs. Whether you want to create intricate flowers, ribbons, or figurines, fondant is a fun way to add a personal touch to your cake.
Remember, the key to successful cake decorating is to have fun and let your creativity shine. Don’t be afraid to experiment with different techniques and decorations to create a cake that is as beautiful as it is delicious.
So, the next time you bake a red velvet cake, don’t forget to have fun with your frosting! With a little creativity and a lot of love, you can turn your homemade cake into a stunning masterpiece that will impress all of your family and friends. Happy baking!
Slice into Sweet Success!
Are you ready to unleash your inner baker and whip up a decadent Homemade red velvet cake? If so, get ready to slice into sweet success! In this article, we will explore all the tips and tricks you need to create a show-stopping red velvet cake that will have everyone coming back for seconds.
When it comes to baking a red velvet cake, the key is to pay attention to detail. From the ingredients you use to the Decorations you choose, every step plays a crucial role in creating a cake that is not only delicious but visually stunning as well. So let’s dive in and discover how you can achieve sweet success with your red velvet creation.
First and foremost, it’s important to start with high-quality ingredients. From the rich cocoa powder to the tangy buttermilk, each ingredient plays a key role in creating the unique flavor profile of red velvet cake. Make sure to use fresh ingredients and follow the Recipes-ideas/’>Recipe closely to ensure that your cake turns out perfectly every time.
Once you have gathered all your ingredients, it’s time to start mixing and baking. Red velvet cake batter is known for its vibrant red color, which comes from a combination of cocoa powder and red food coloring. Make sure to mix the batter thoroughly to ensure that the color is evenly distributed throughout. And don’t forget to preheat your oven to the correct temperature to ensure that your cake bakes evenly and rises to perfection.
As your cake bakes, your kitchen will be filled with the delicious aroma of chocolate and vanilla. The anticipation of slicing into a warm, freshly baked red velvet cake is enough to make anyone’s mouth water. And when the timer finally dings, it’s time to take your cake out of the oven and let it cool before decorating.
When it comes to decorating your red velvet cake, the possibilities are endless. From simple cream cheese frosting to intricate designs made with piping bags and edible decorations, you can let your creativity run wild. Whether you choose to top your cake with fresh berries, chocolate shavings, or a dusting of powdered sugar, the final touch is what truly makes your cake a work of art.
And finally, the moment you’ve been waiting for – slicing into your sweet success! As you cut into your red velvet cake and reveal the vibrant red layers and creamy frosting, you can’t help but feel a sense of pride in your baking skills. The rich flavor, moist texture, and beautiful presentation of your cake are sure to impress all your friends and family.
In conclusion, baking a red velvet cake is a rewarding experience that allows you to unleash your inner baker and create a delicious treat that is sure to be a hit. By following these tips and tricks, you can whip up a decadent Homemade red velvet cake that will have everyone asking for seconds. So what are you waiting for? Get baking and slice into sweet success today!
how to make homemade red velvet cake


